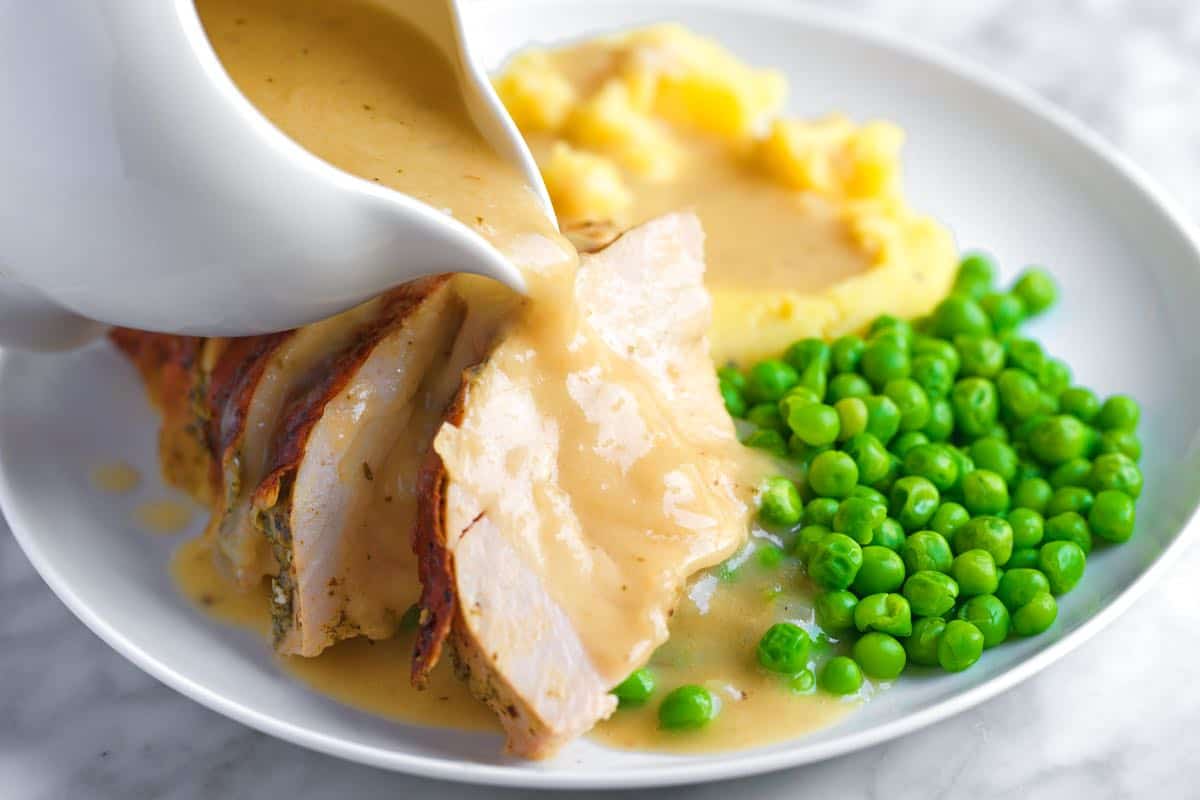
For a delicious turkey gravy, we recommend using our recipe made from scratch using roasted turkey pan drippings. It’s packed with amazing flavor, making it perfect for anyone preparing a turkey, especially for Thanksgiving!
Watch the Video
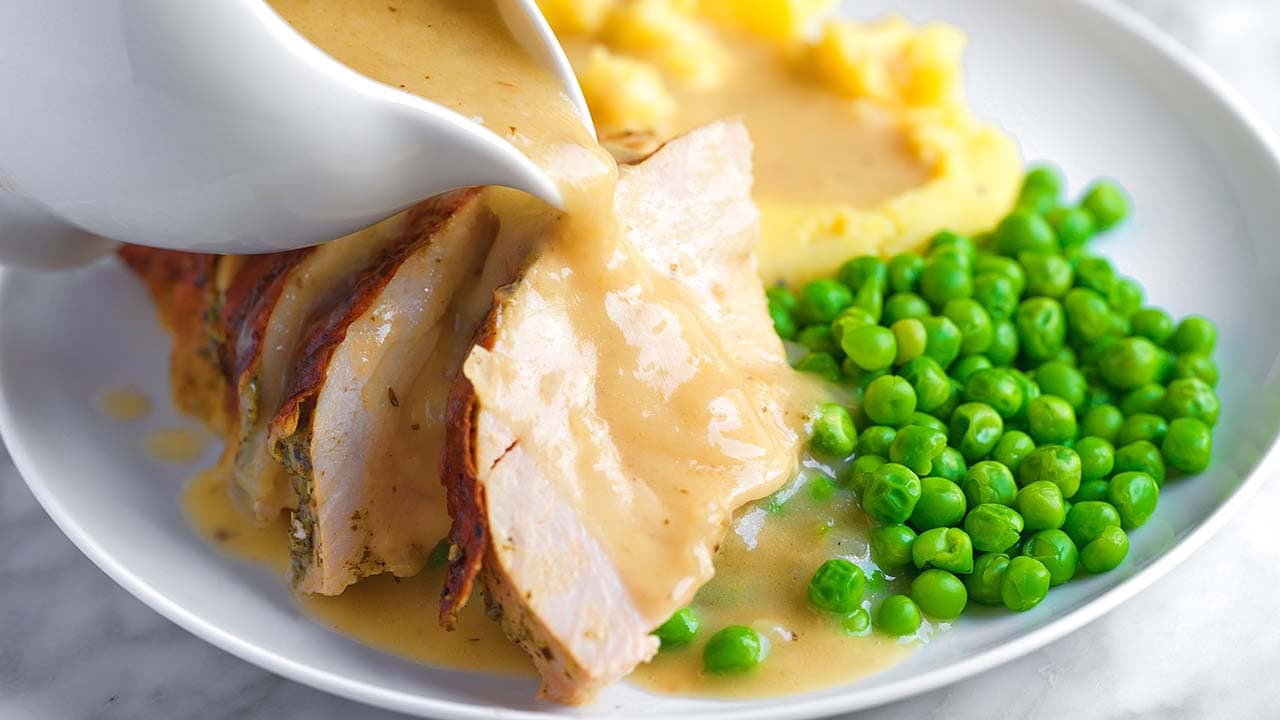
Our Favorite Thanksgiving Gravy
This turkey gravy recipe calls for pan drippings. To make gravy without pan drippings, see this easy recipe. I’ve fallen head over heels for this homemade gravy, especially when made alongside our new favorite roasted turkey.
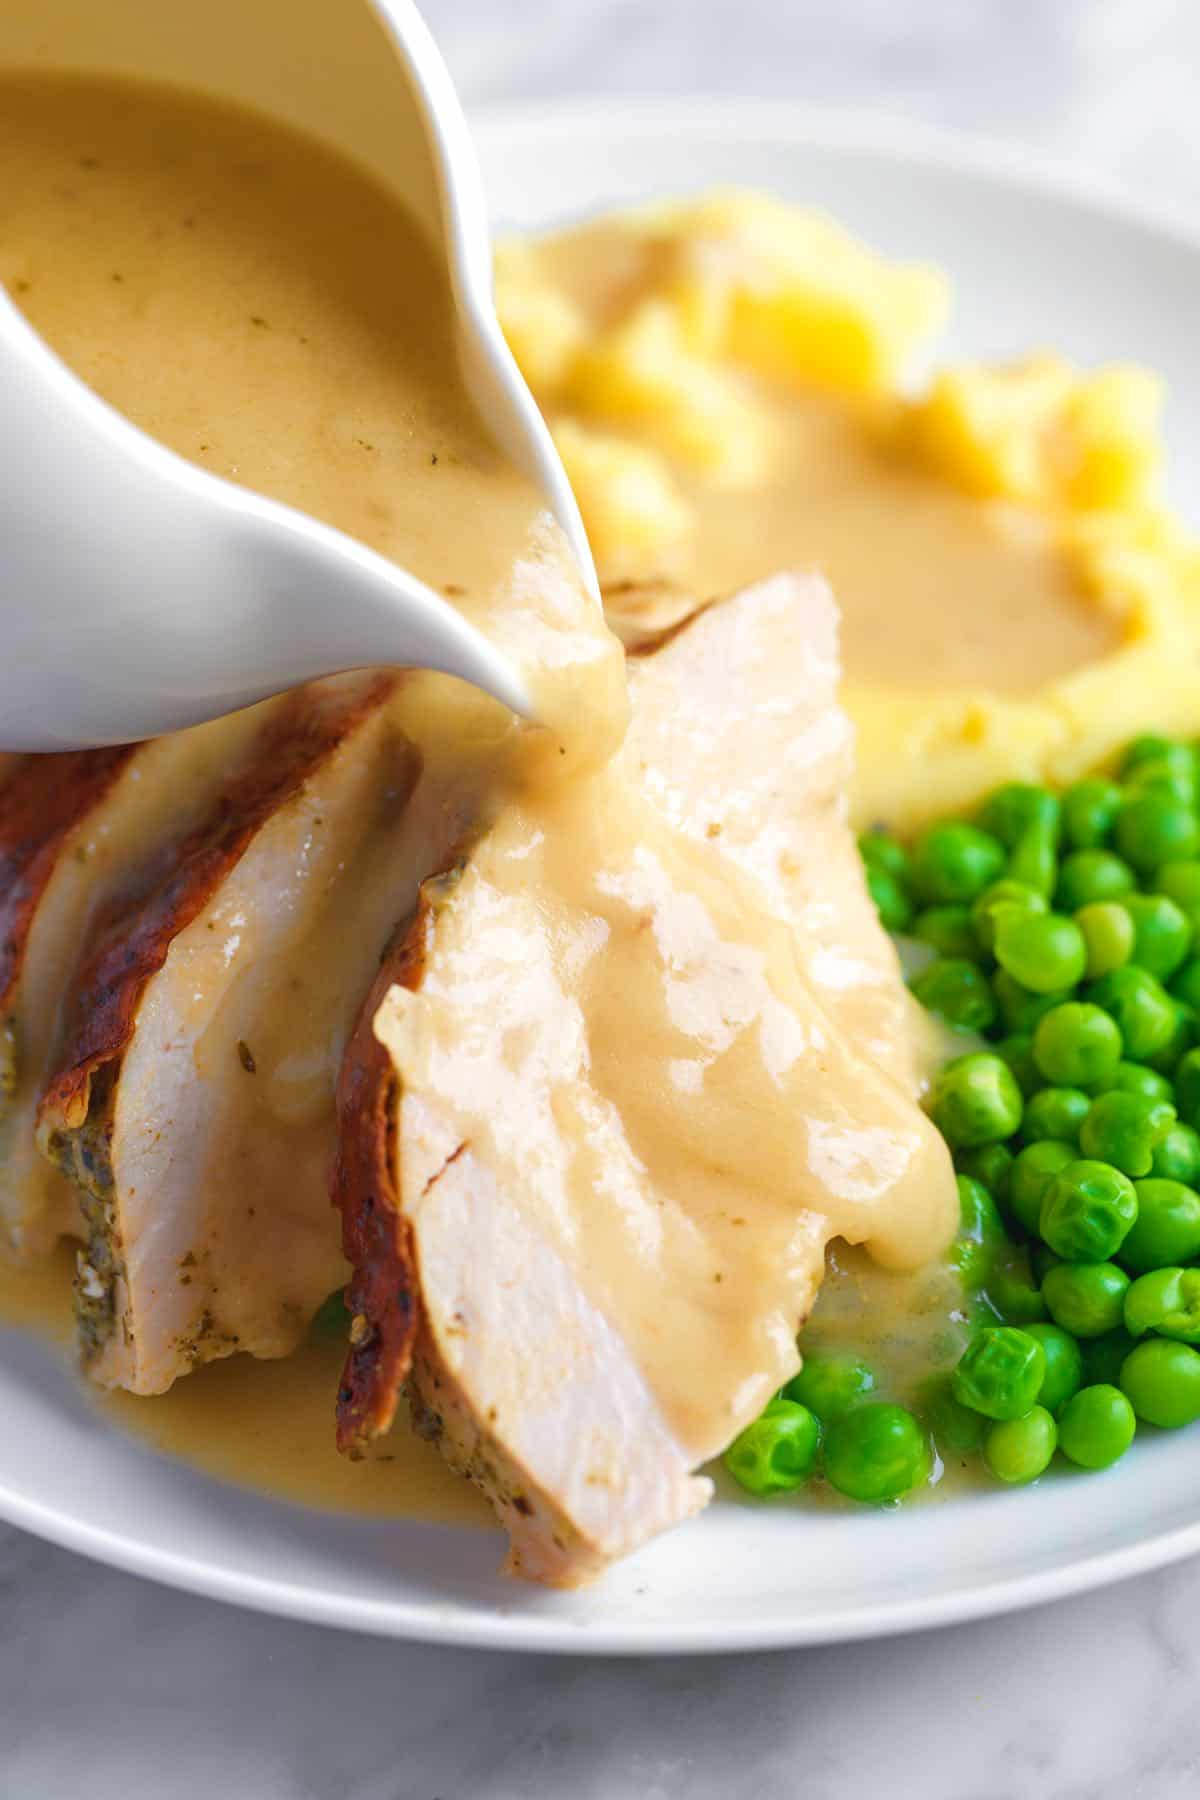
Thanks to outrageously flavorful pan drippings, a simple onion broth, and the perfect roux, this gravy is silky, perfectly thick, and tastes incredible drizzled over mashed potatoes, turkey, and other Thanksgiving sides.
Make Ahead Tips
While you can’t finish this gravy days before roasting your turkey, you can prepare the base broth in advance to make things easier for you. We brine our turkey, which takes two days plus a night of air-drying in the fridge (so worth it; read why here).
You can pre-make the broth for our gravy the same day you begin your brine–it takes 1 hour. Then, store it in the fridge until you finish your gravy and incorporate the pan drippings — this means that on the day of serving, you’re only looking at 15 minutes to pull the gravy together.
If you aren’t concerned with making the broth in advance, you can do it all while the turkey roasts. It’s not difficult, so this is what I usually do.
The Base of Our Gravy — a Delicious Onion Broth
The base of our gravy is made up of chicken stock, finely chopped onion, thyme, a bay leaf, and the neck and giblets from our turkey. We simmer everything for one hour so the neck and giblets infuse the broth with turkey flavor, and the onions soften and become sweet (I love them).
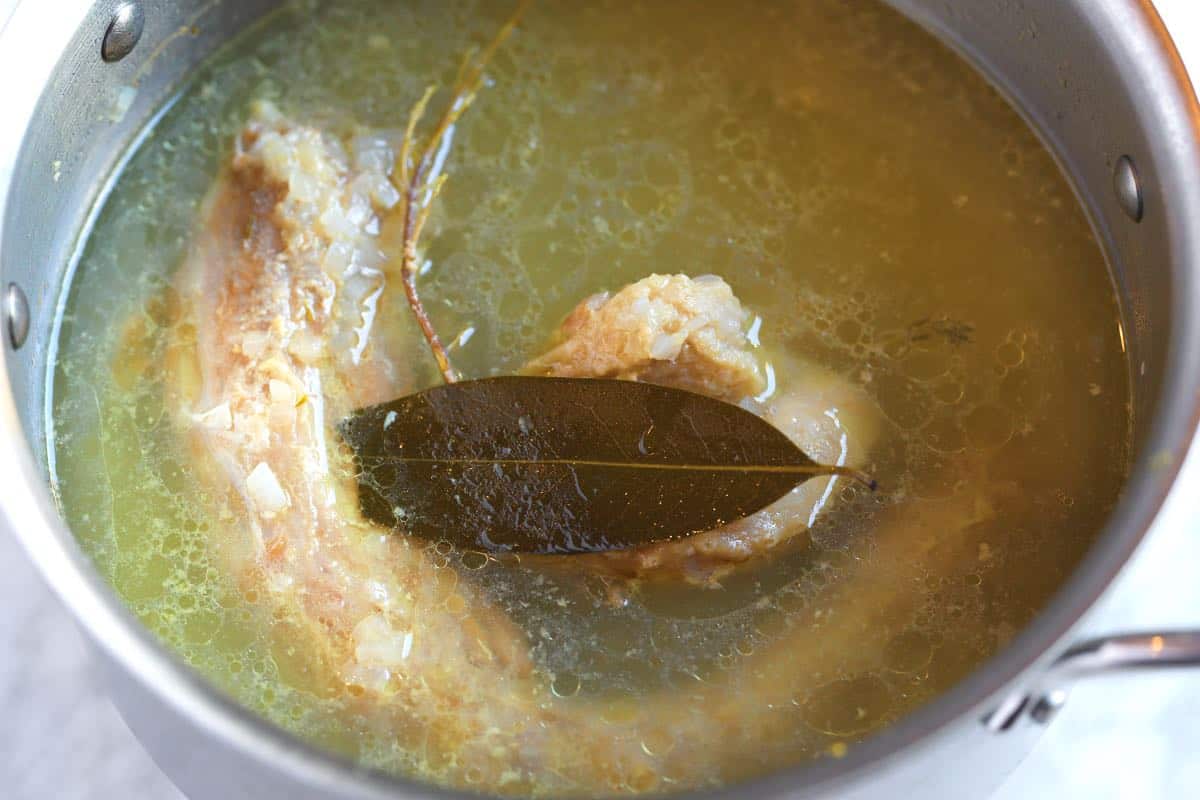
Since we cook the neck and giblets, you have the option to remove them and chop up the meat to add to your gravy.
⭐️ Remember, you can make this broth a few days in advance. I’d make it the same day I begin brining my turkey and then store it in the fridge, ready for the day of serving.
The Roux
The roux thickens our gravy. It is made by cooking fat with flour and then whisked into simmering broth. As it simmers, the roux turns the broth into a silky, thick gravy. For a gluten-free gravy, you can substitute cornstarch for the flour. I’ve provided tips below the recipe.
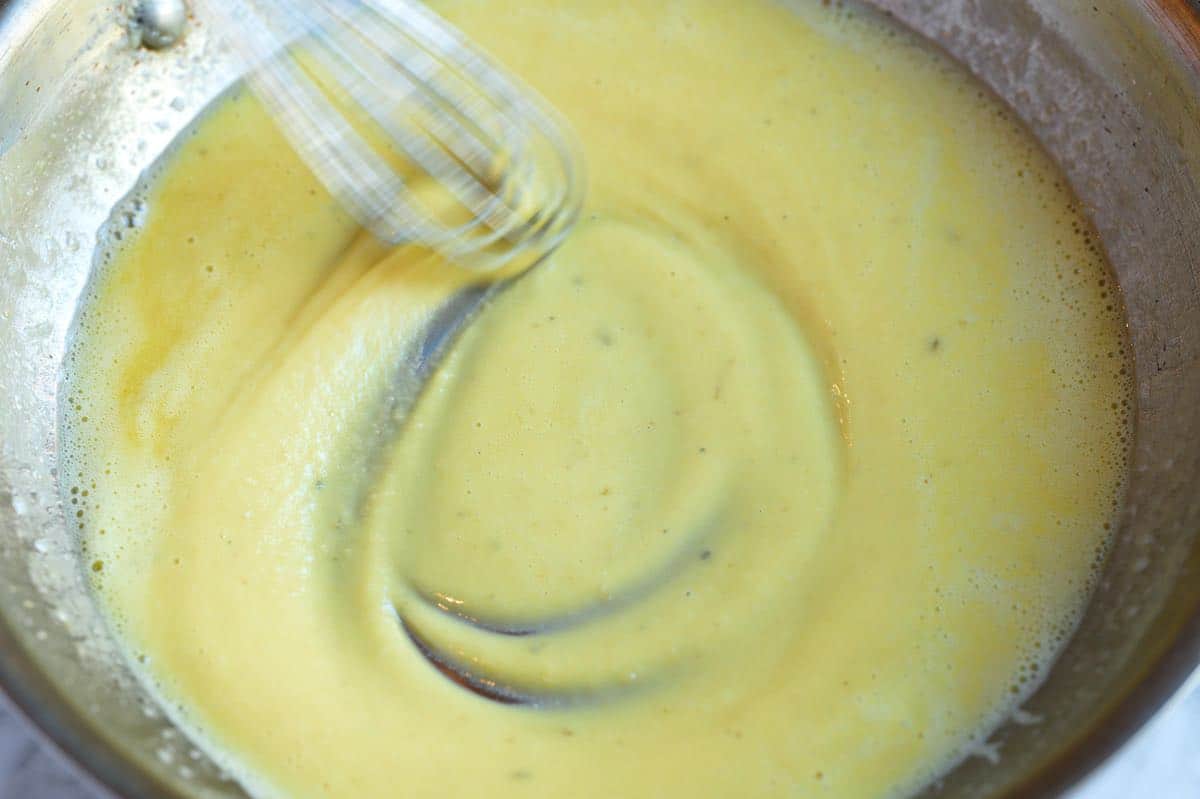
Once you have roasted your turkey and separated the fat — we use turkey fat from the roasting pan — the roux takes less than 5 minutes to make.
Magical Pan Drippings
Pan drippings make this gravy so delicious — especially when you use the garlic herb butter we used to make our best roast turkey (highly recommended). Here’s a photo of my roasting pan after roasting my turkey — it’s resting to the side.
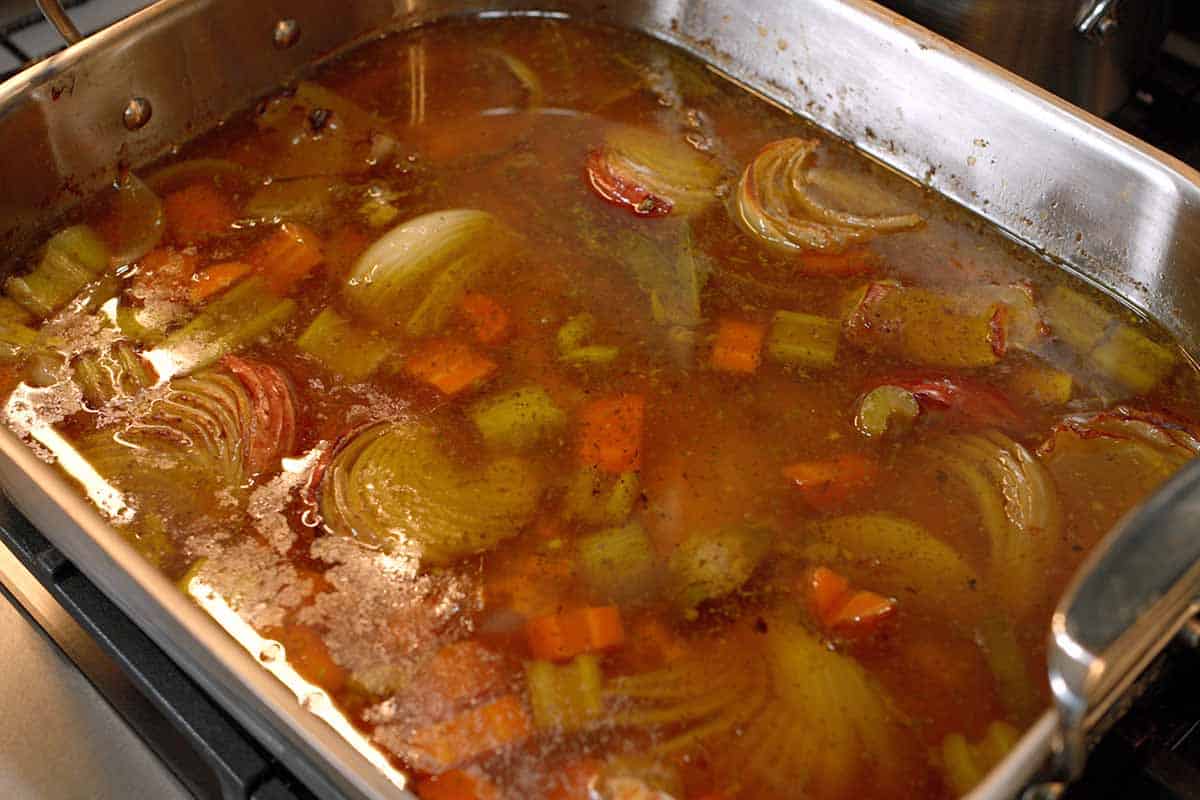
We roast turkey with veggies and broth at the bottom of the pan, so I’ve got lots of drippings and broth to work with when making the gravy. To make gravy, we need to separate the fat from the broth. I use a fat separator, which works wonders (the one shown in our photos/video is from OXO).
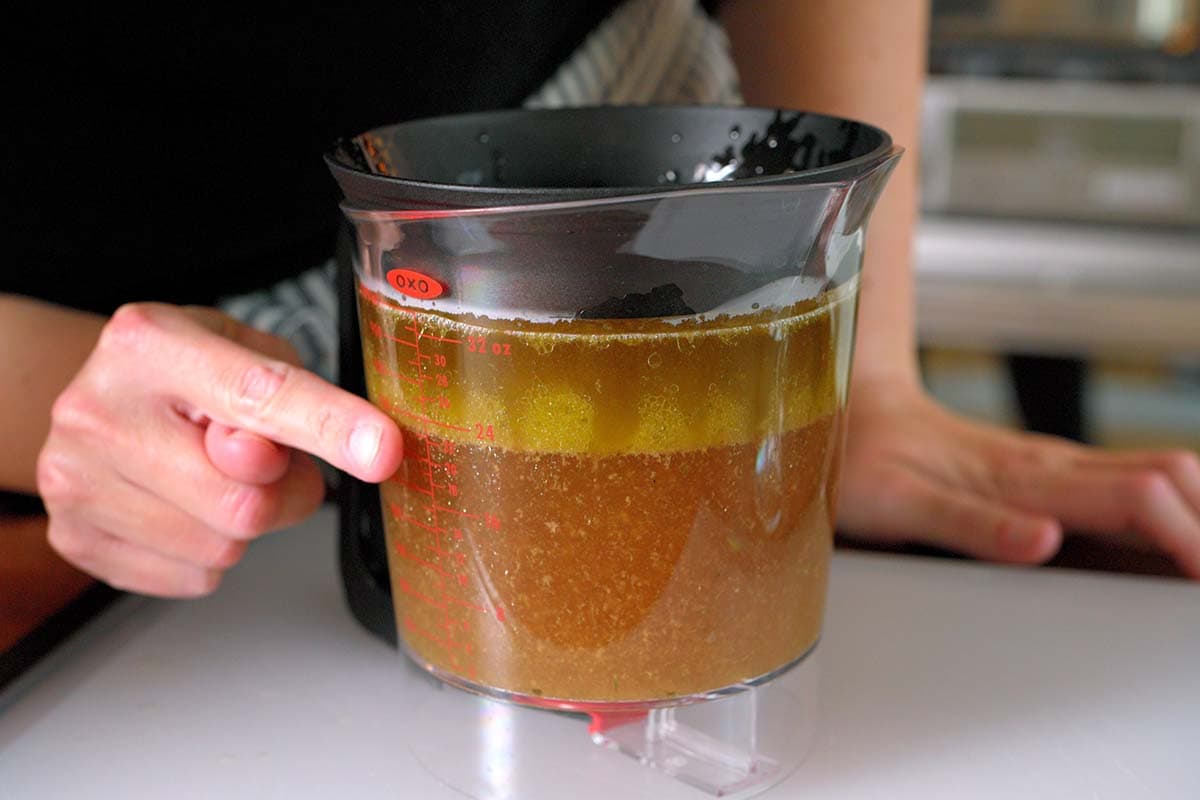
We need 3 to 4 cups of the broth from the pan to add to the onion and turkey neck broth we made earlier. We also need 1/2 cup of fat — a combination of rendered turkey fat and butter that trickled down while the turkey was roasting. (Here’s me plugging that herb butter again because it’s so very good).
If you do not have a fat separator or time to get one, you can add pan drippings to a measuring jug and leave it for a few minutes so that the fat floats to the top. Then use a turkey baster to suck up the fat and squeeze it into another container.
Making Gravy That Will Knock Your Socks Off
To bring this all together, we’ll combine the onion broth and broth from the pan (remember that we saved 3 to 4 cups of it). Bring the broth to a simmer and then add a splash of cream, which is optional, but I love a creamy gravy!
While the creamy broth is simmering, whisk in your roux and then watch as it thickens into a silky, delicious gravy. At this point, we simmer for 10 minutes and season to taste with salt and pepper. And that’s it, I am so excited for you to try it for yourself! When you do, leave a review/comment below.
Our Best Turkey Gravy
-
PREP
-
COOK
-
TOTAL
Our delicious turkey gravy recipe is made from scratch with roasted turkey pan drippings. It’s packed with incredible flavor, making it the perfect addition to any Thanksgiving turkey.
Assume 1/3 cup to 1/2 cup of gravy per person. This gravy recipe makes enough to serve 16 people.
16 servings (about 8 cups)
Watch Us Make the Recipe
You Will Need
Turkey offal and neck, see notes
4 cups (950 ml) chicken stock
1 medium onion, finely chopped
4 sprigs fresh thyme
1 bay leaf
3 to 4 cups (950 ml) broth from the roasting pan, strained and skimmed
1/2 cup (120 ml) turkey fat from the roasting pan, strained and skimmed
10 tablespoons (80 grams) all-purpose flour
1/4 cup (60 ml) heavy cream or more, optional
8 twists black pepper
Salt, to taste
Scallions or chives, chopped, optional
Directions
- Make Broth
1To make the base broth for gravy, add the offal, turkey neck, onion, thyme, and bay leaf to a medium saucepan. Bring to a simmer, then cover and simmer for 1 hour.
2Remove the offal and neck, saving them if you plan to chop the meat for gravy. Discard the thyme stems and bay leaf.
3You can make the broth ahead of time. Store it in the refrigerator for up to 4 days, ideally while the turkey is brining.
- Prepare Pan Drippings
1After your turkey has finished roasting, strain the pan drippings to remove any large vegetables or herbs.
2Use a fat separator to strain and separate the fat from the broth. (See our video for reference.) You will need 1/2 cup of fat and 4 cups of broth. Save leftover fat/broth in the fridge for another dish.
- Make Gravy
1Add the turkey fat to a small skillet over medium heat. Add the flour and stir until it forms a smooth paste. Turn the heat down to low and allow the roux to cook slowly to remove any graininess from the flour. It should still look blonde — 2 to 3 minutes.
2Bring the onion broth made earlier to a simmer and pour in 3 cups of broth saved from the pan drippings. Once simmering, whisk in the roux and simmer for 10 minutes until thickened and silky. We like our gravy on the thinner side, so we add the remaining cup of broth.
3Taste the gravy, and then season with salt and pepper. Depending on how salty the pan drippings were, you will need to add 1/4 to 1 teaspoon of salt, possibly a bit more.
4Add the meat from the turkey neck and offal (optional). If you saved them, remove and chop the meat. Stir them into the gravy.
5Add chopped scallions or chives (optional).
- Storing Gravy
1Let the gravy cool completely. Pour into an airtight container and refrigerate for up to 3 days. Or store in a freezer-safe container and freeze the gravy for up to 3 months. Thaw frozen gravy overnight in the fridge before reheating. Reheat gravy over low heat, whisking often.
Adam and Joanne’s Tips
- Turkey offal and neck: Many fresh or frozen whole turkeys come with the neck and offal inside the cavity. Remove them before brining or roasting. We use these ingredients to add turkey flavor to the gravy. After they are cooked, you can pull meat from the neck, chop it up, and chop up the offal. This meat can then be added to the gravy.
- Gluten-free gravy: Use cornstarch. Use 5 tablespoons of cornstarch and mix it with 10 tablespoons of cold water or broth until it is smooth before whisking into the hot gravy. Simmer for 10 minutes. I still add most of the turkey fat for flavor.
- No fat separator: Let the pan drippings sit in a measuring jug for a few minutes so that the fat floats to the top. Use a turkey baster to suck up the fat and squeeze it into another container.
- Nutrition facts: The nutrition facts provided below are estimates. We have used the USDA database to calculate approximate values.
Nutrition Per Serving
Serving Size
1/2 cup
/
Calories
131
/
Total Fat
8.6g
/
Saturated Fat
2.7g
/
Cholesterol
12.3mg
/
Sodium
245.4mg
/
Carbohydrate
9.5g
/
Dietary Fiber
0.6g
/
Total Sugars
2.3g
/
Protein
3.8g


